
Three Common Suit Fitting Mistakes
Check waist tension, shoulder shape and cuff balance in motion rather than judging only the mirror view.
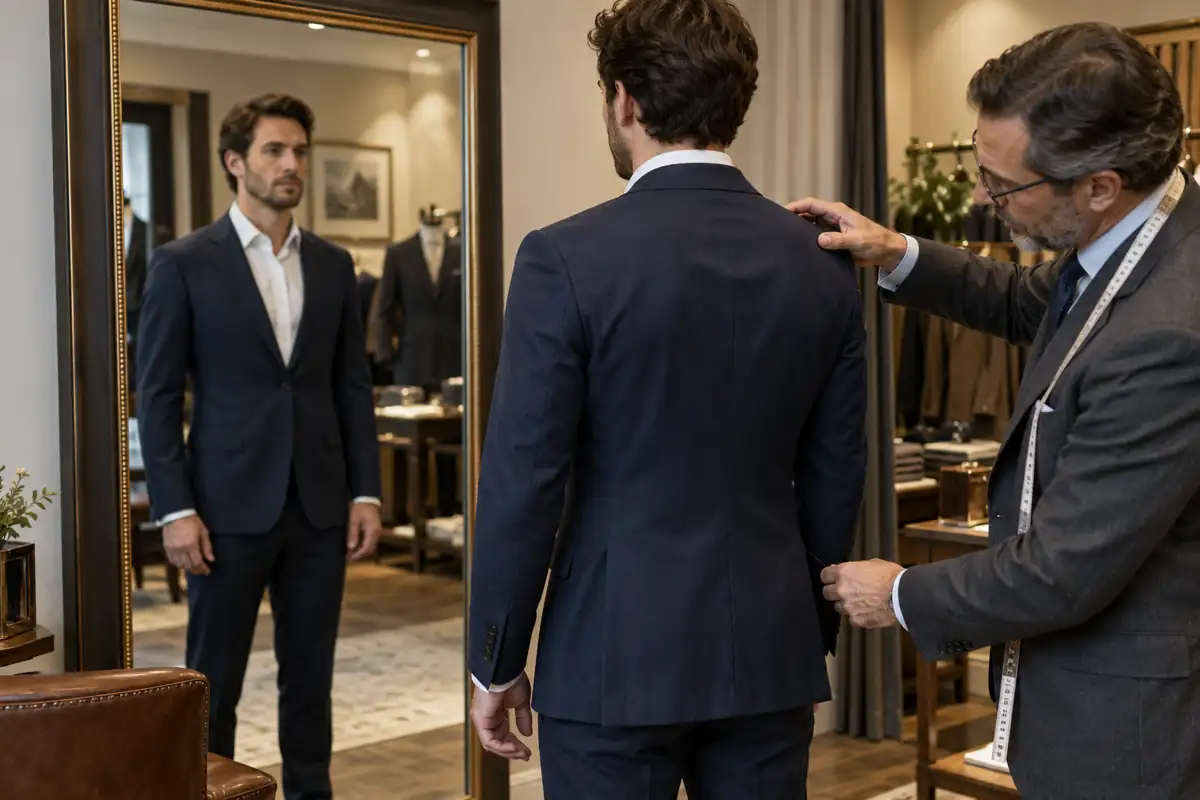
A mirror shows only part of the fit
A garment can feel tight without looking tailored, or look smooth when still but restrict movement. Check side and rear views as well as the front.
Mistake 1: Assuming tighter always looks slimmer
Tight waists can create X-shaped drag lines and gaping pockets, especially when seated. Shape should come from the chest-to-waist ratio, rather than strain on the button.
Mistake 2: Expecting every shoulder crease to vanish
Small movement folds can be normal. Watch for a collapsed shoulder end, a dimple at the sleeve head or folds behind the collar, which can indicate a slope or posture mismatch.
Mistake 3: Treating more exposed cuff as better
There is no universal amount. Consider arm length, shirt sleeves and the setting. Judge visual balance with both arms hanging naturally.
Sit and reach as well as standing
Try sitting and reaching forward or imitating driving and typing to reveal restrictions at the armhole, back or trouser waist.
Allow for different silhouettes
Traditional, slim and relaxed cuts need different ease. Identify the intended silhouette before applying a fit standard.
Review the areas together
Waist, shoulder, cuff and ease depend on body, cloth and construction. Look for the source of persistent pulling.
Make the fitting realistic
Check how the garment feels and moves in the intended outfit and occasion rather than judging from a single pose.
Aim for balance and natural movement
A fitting is successful when the shape is clear at rest and key areas are free of persistent strain in motion.
Black, Navy or Gray for a Wedding Suit? Start With the Setting →